3. Logic
3.1. Variables
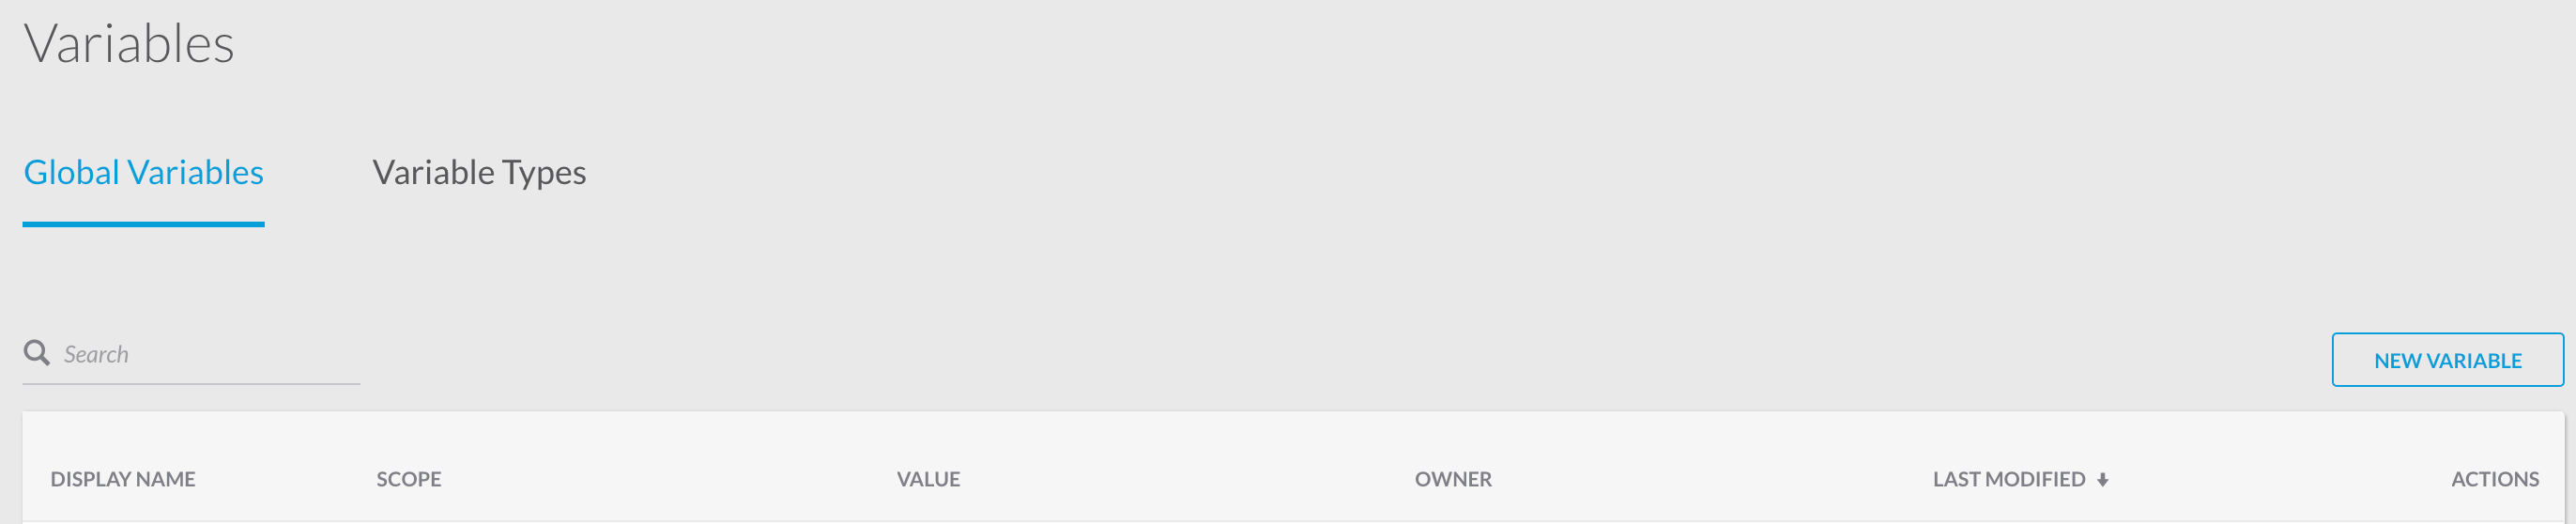
3.1.1. Creating Global Variables
- Go to “Variables” on the left hand side to create global variables.
- To create a new one click the “New Variable” button.
- Choose a data type. These include boolean, date time, decimal, integer, secure string, string, or you can add a new data type.
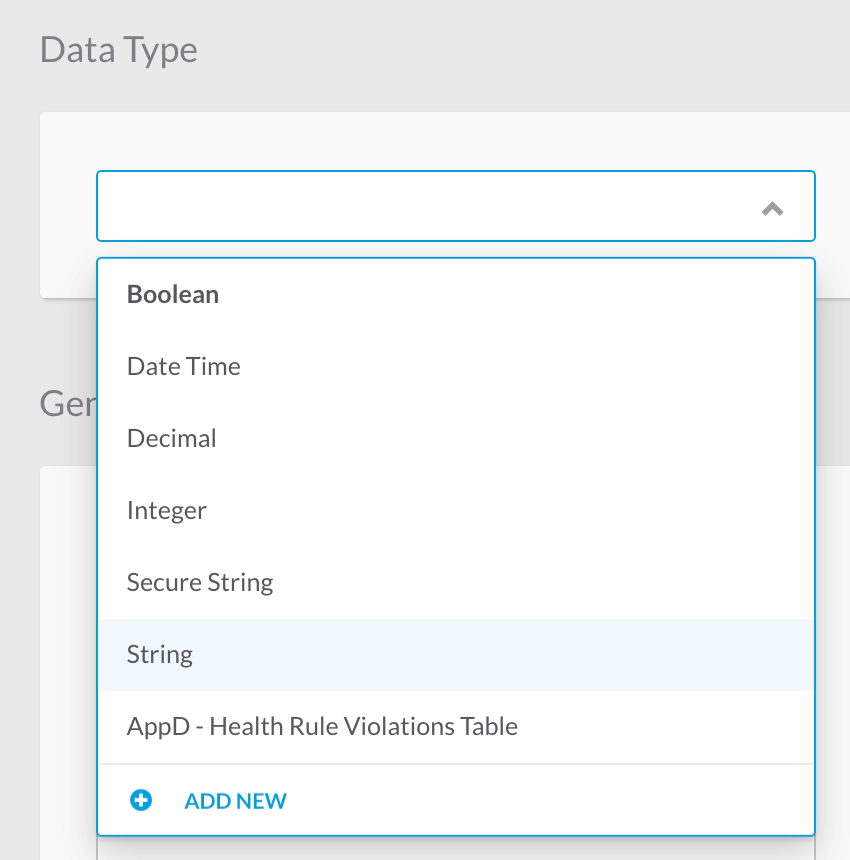
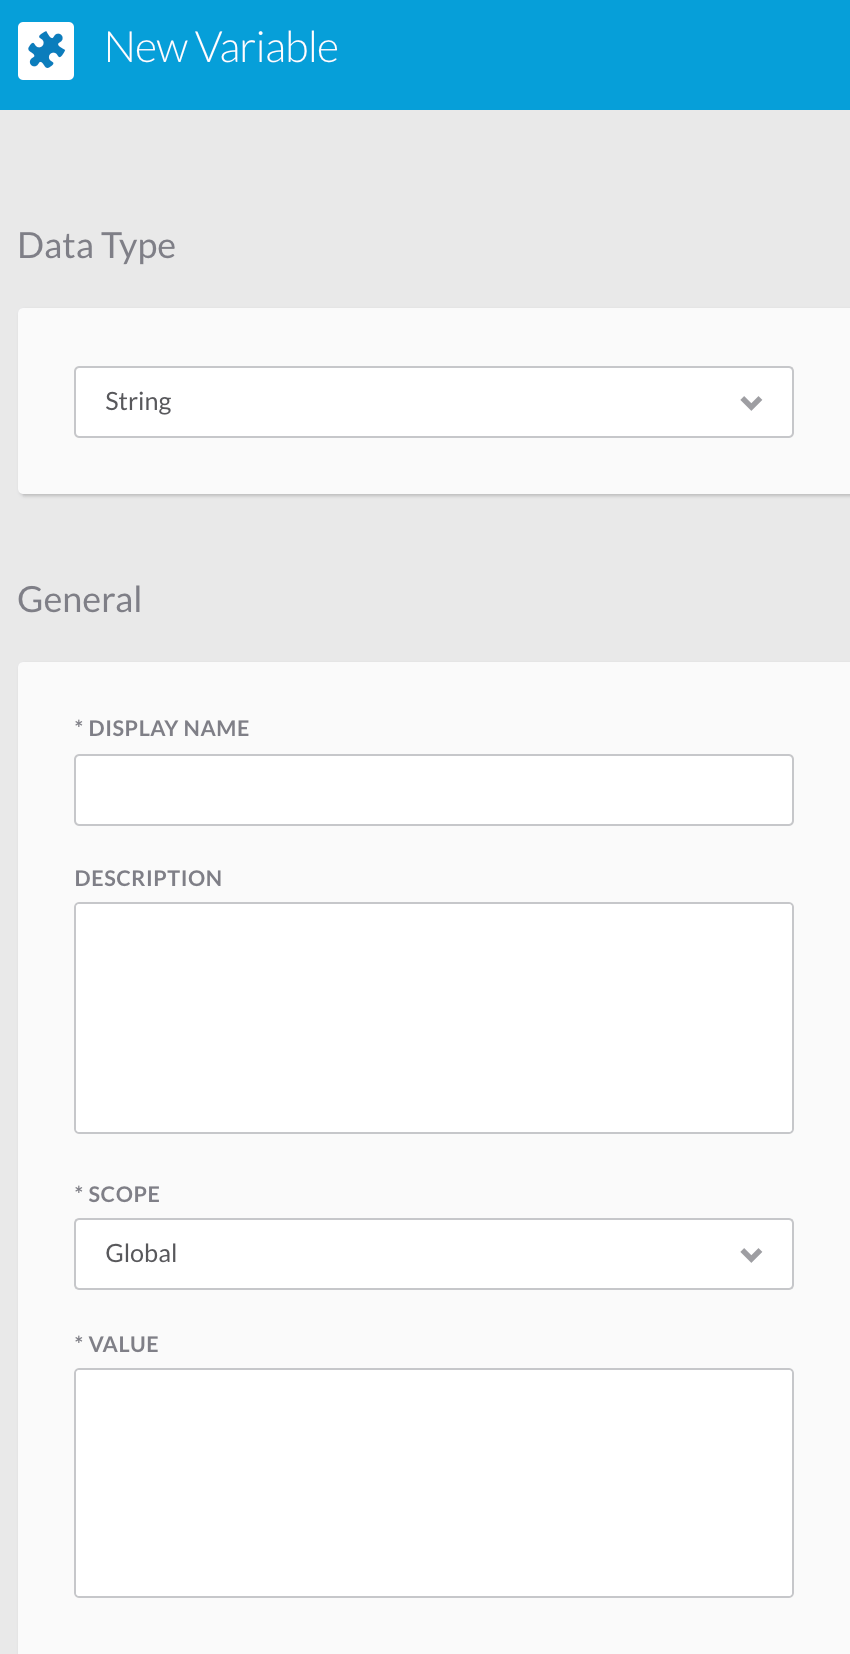
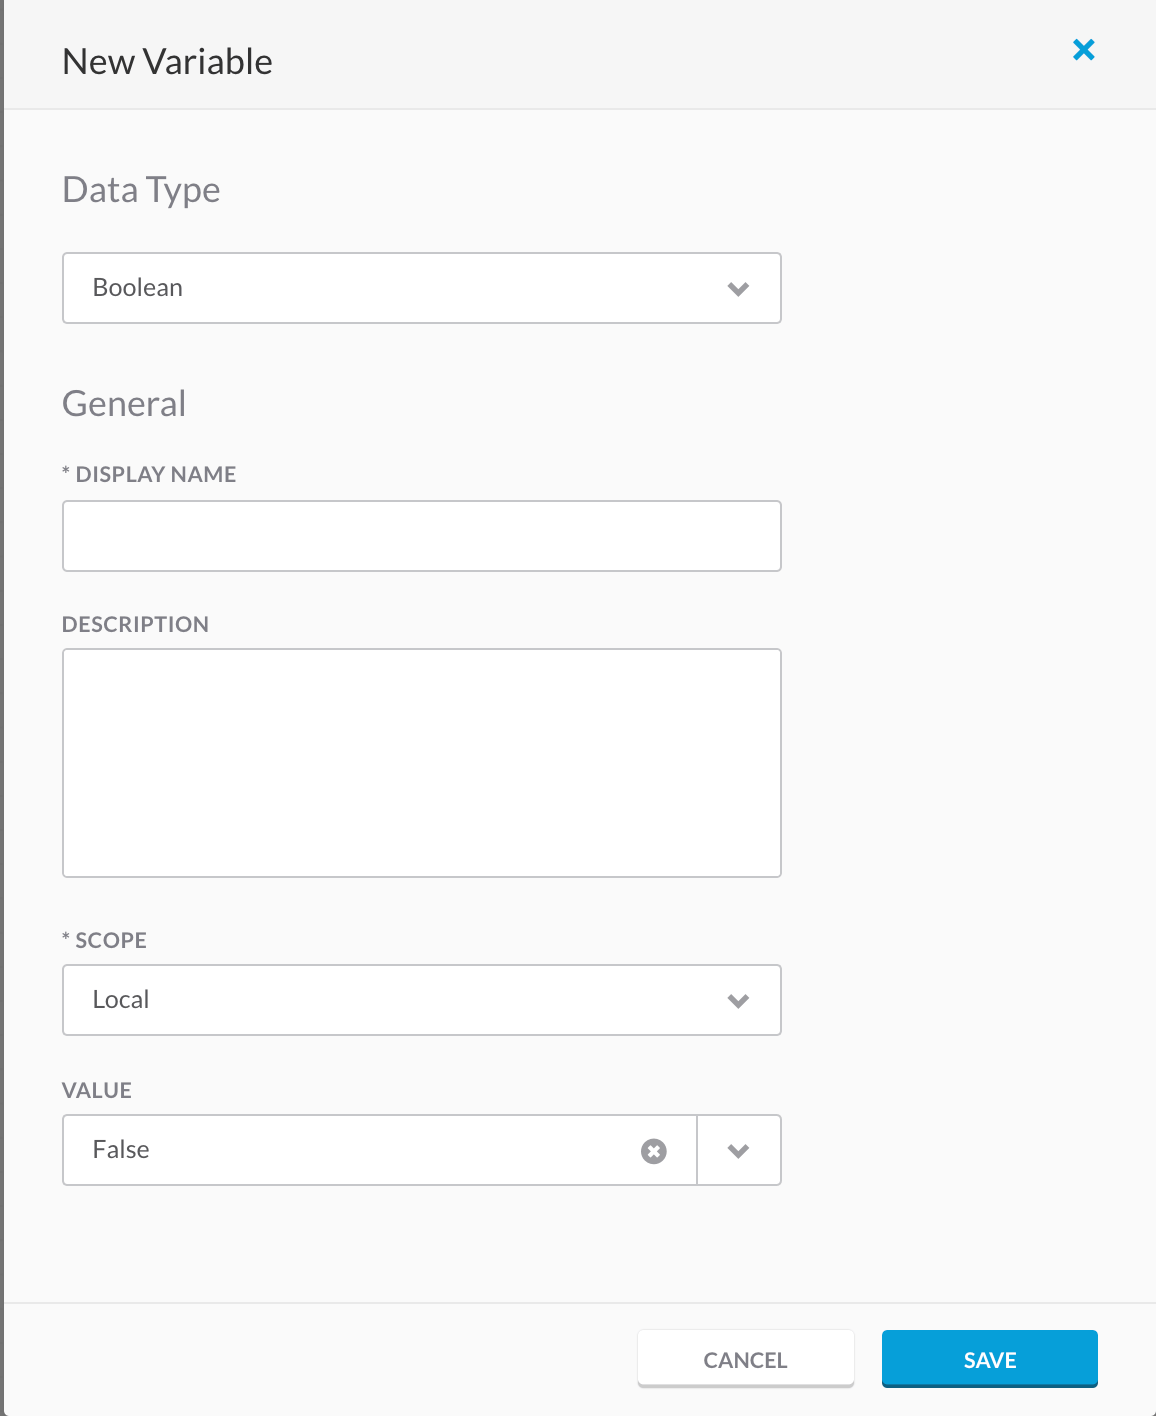
3.1.1.1. Example Creation of a String Variable
- Select the type String
- Provide a display name and a description.
- Choose a scope for the variable and provide a value.
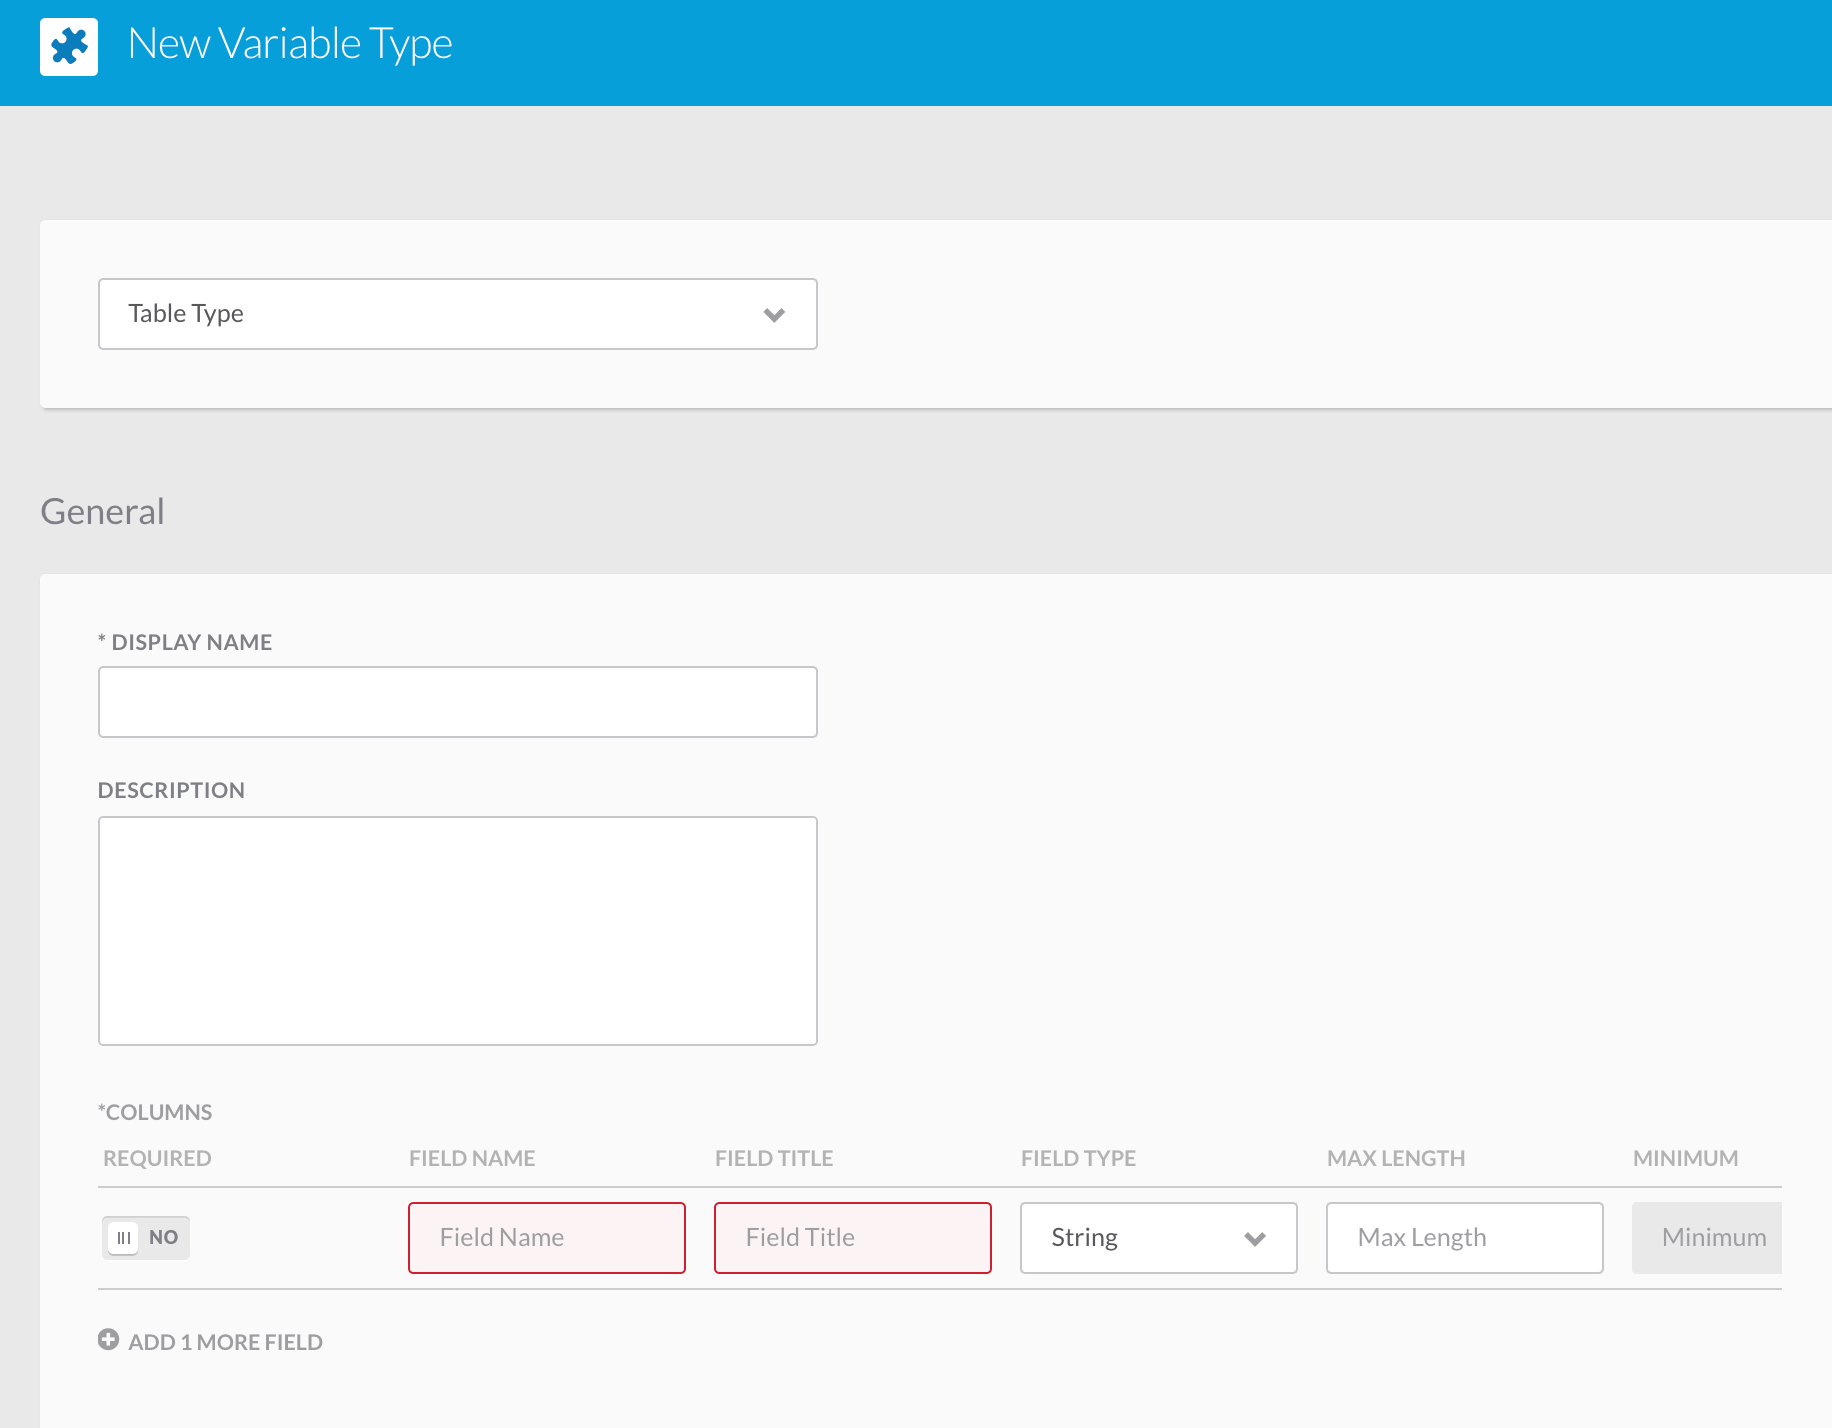
3.1.2. Creating a New Variable Type
- To create a new variable type go under “Variable Types” and click the “New Variable Type” button.

- This creates a structure of the type table and asks for a display name and a description.
- Add new fields to the variable and click the “Submit” button to create the variable.
- This new variable type can now be used to create global variables.
3.1.2.1. Creating Local Variables
- To create a local variable click inside the workflow area and go to the properties section on the right.
- Scroll down until you reach the variables section.
- Click new variable.
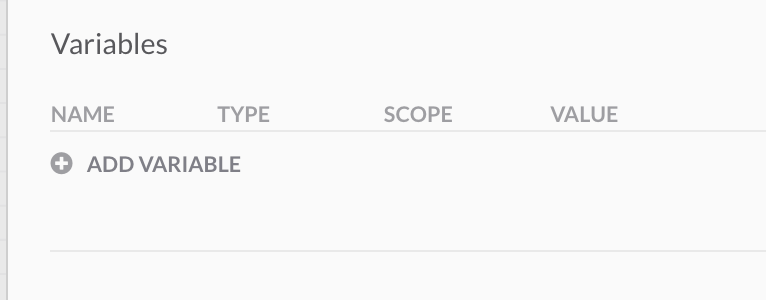
- Add info for new local variable
3.2. Condition Blocks
Condition blocks allow you to decide which path to take in a workflow.
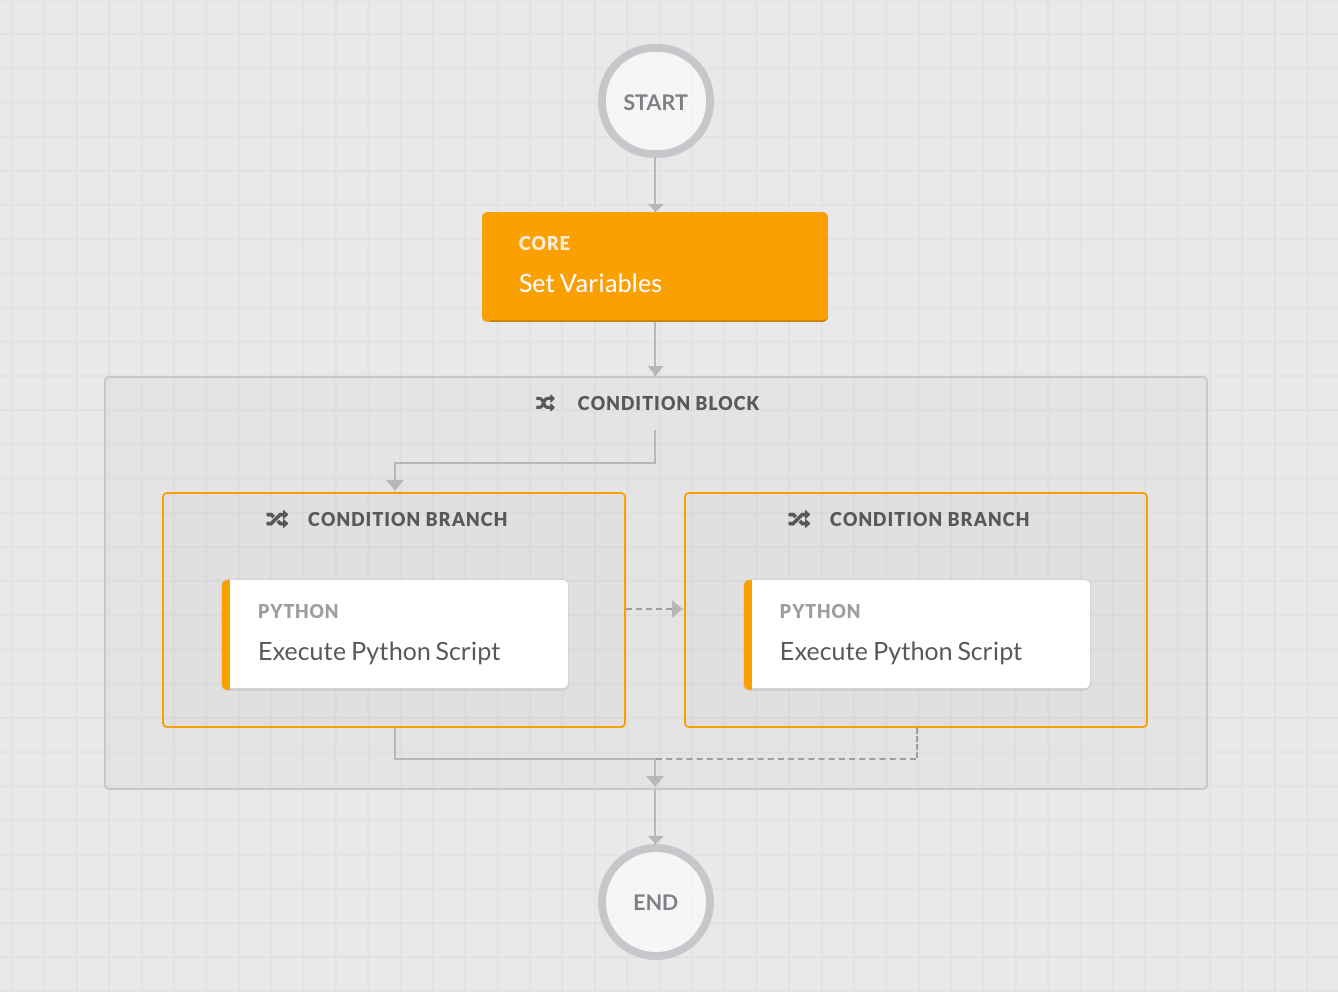
3.2.1. Example Condition Block
This example sets a variable and then runs a python script based on what the value of the variable is.
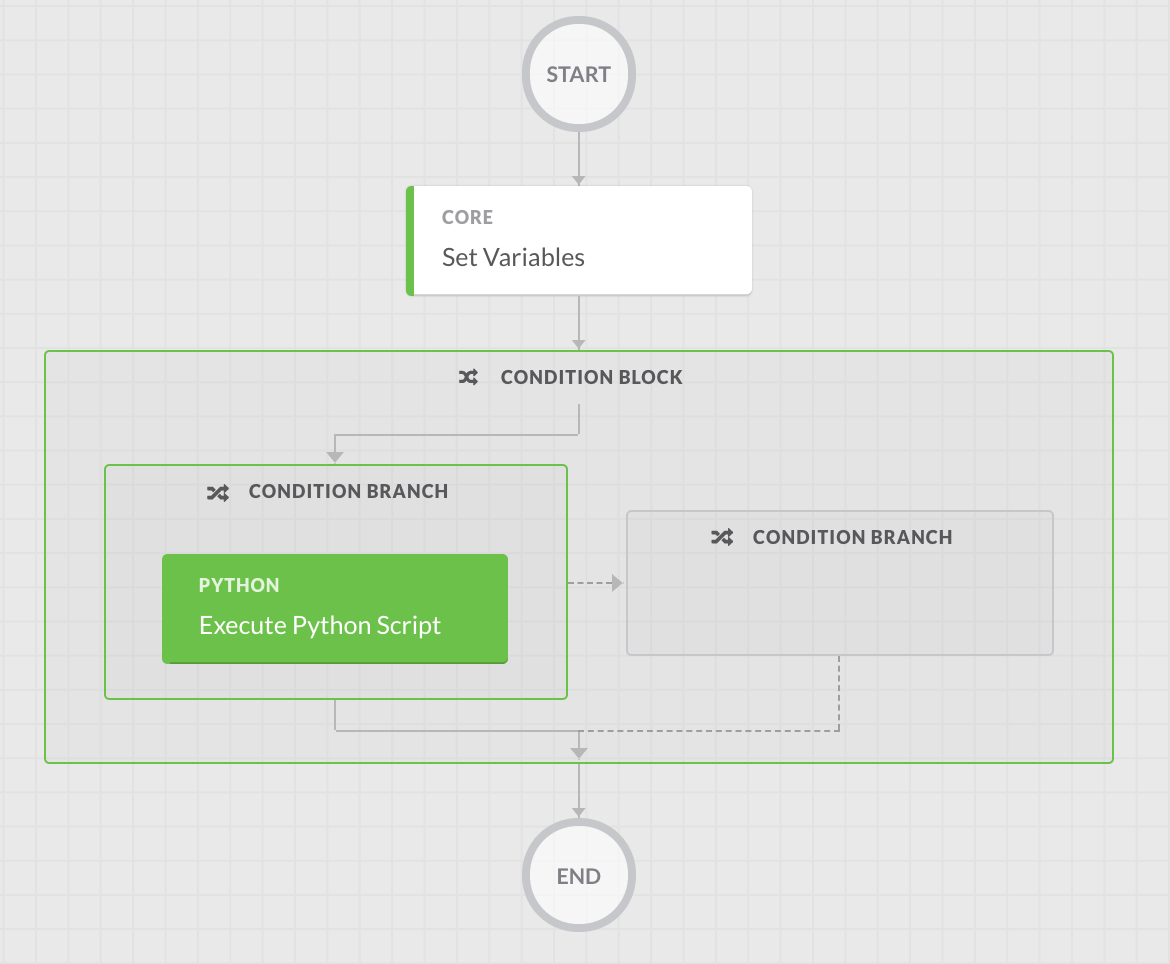
- Add the action “Set Variables” followed by a condition block with two of the “Execute Python Script” actions inside.
- Create a local variable for the workflow called “Condition” and make it a boolean and set it to True.
- Pass the “Set Variables” action the condition variable.
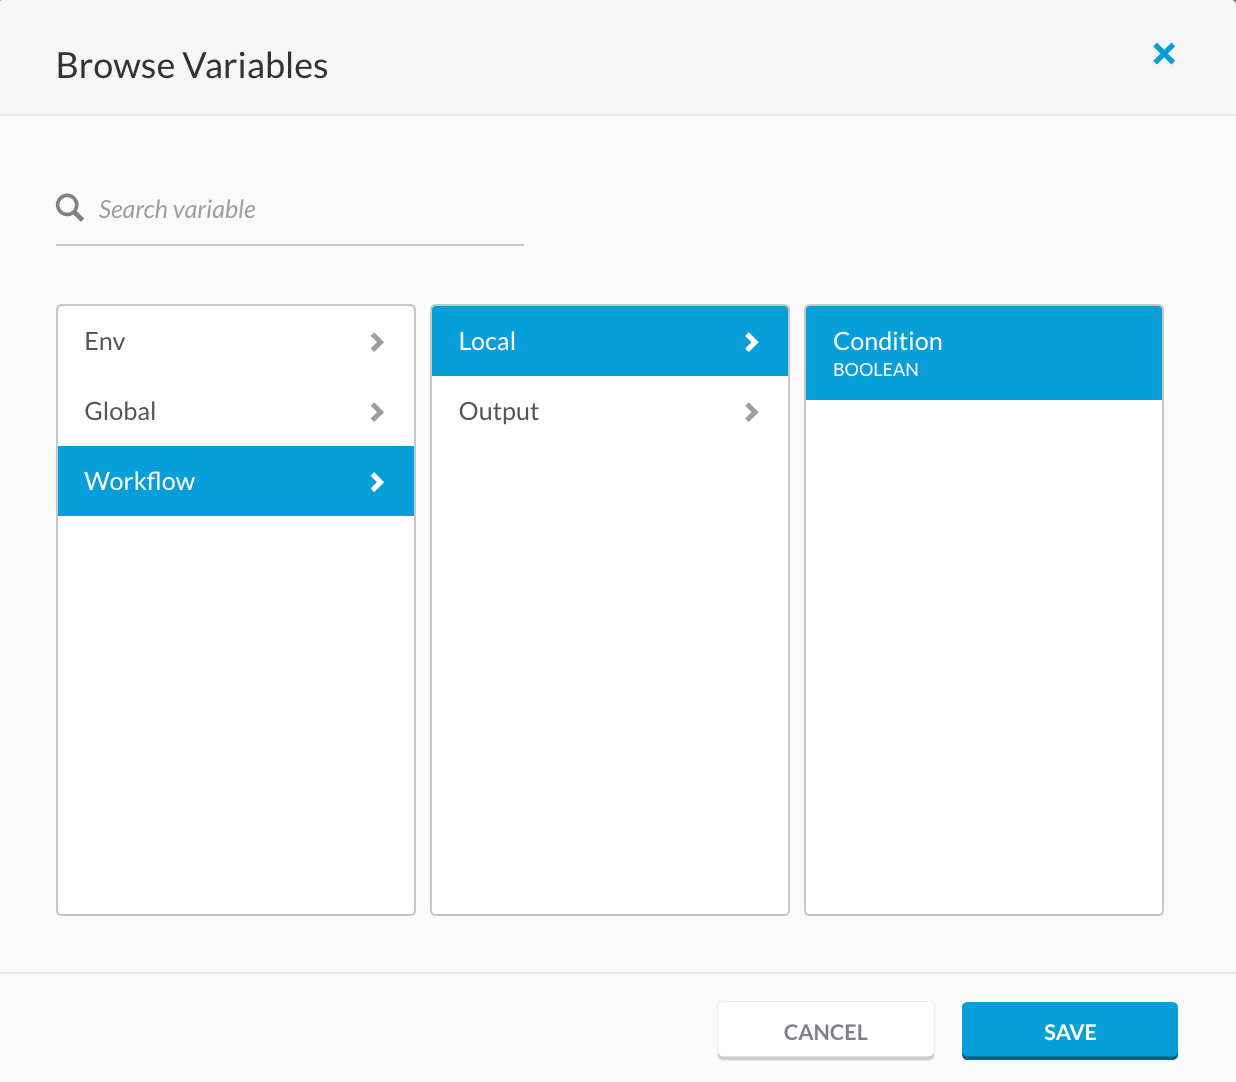
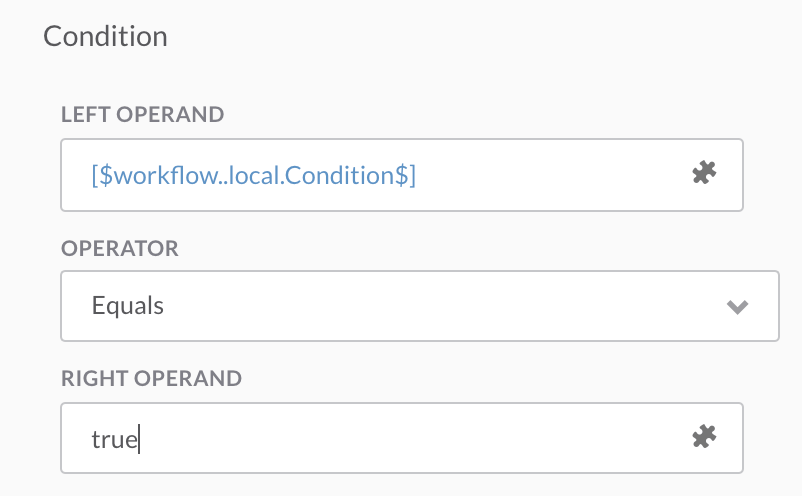
- Click on the left condition branch and click the puzzle piece for the left operand and choose the “Condition” variable we created.
- Leave the operator as equals and set the right operand to True.
- In the left side “Execute Python Script” action add a simple script to print True.

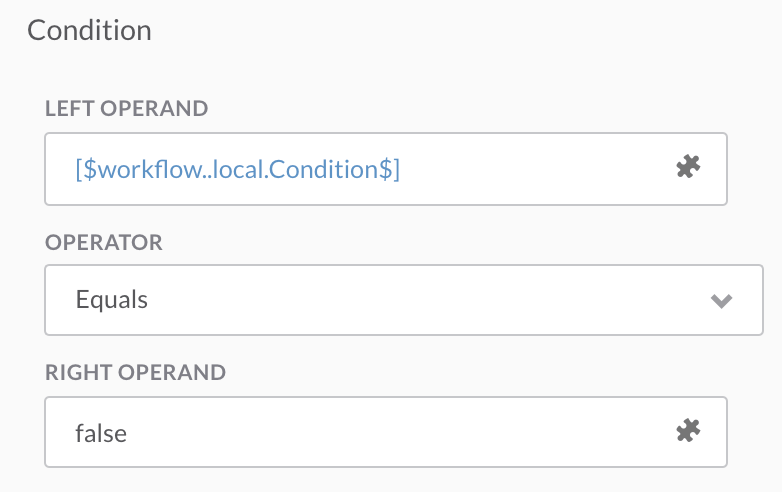
- Click on the right condition branch and click the puzzle piece for the left operand and choose the “Condition” variable we created.
- Leave the operator as equals and set the right operand to False.
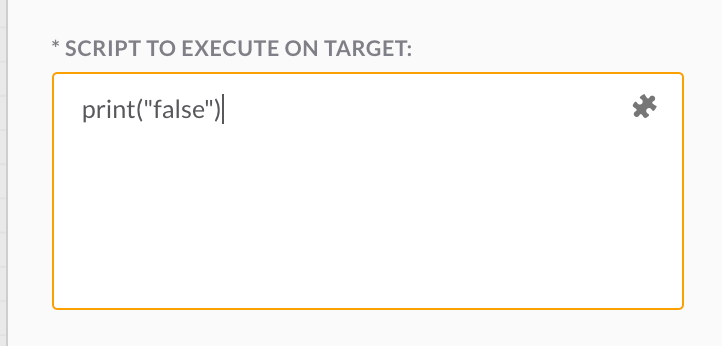
- In the right side “Execute Python Script” action add a simple script to print False.
- Validate and run the action.
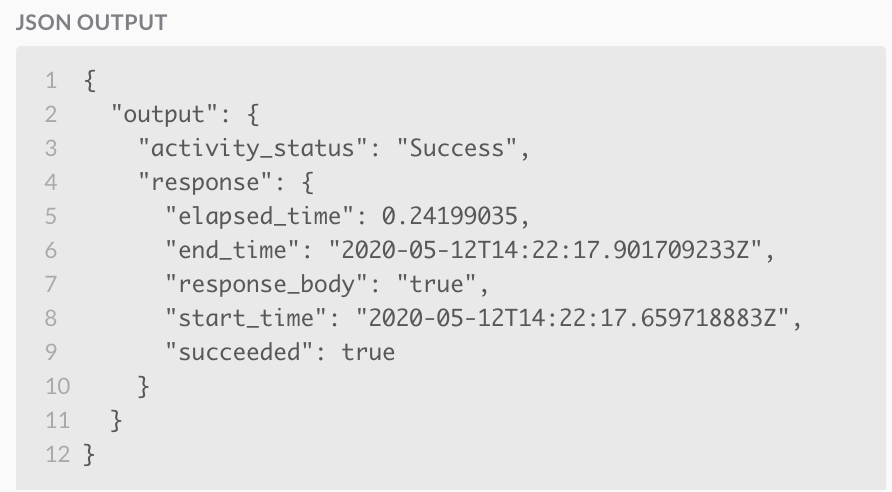
- The resulting JSON will show the result printed was True as we had the local variable set to True.
- In the workflow you can see which path was taken as it will have a green square around it.
3.3. For Each Blocks
The For Each block allows you to loop through data.
3.3.1. Example For Each Block
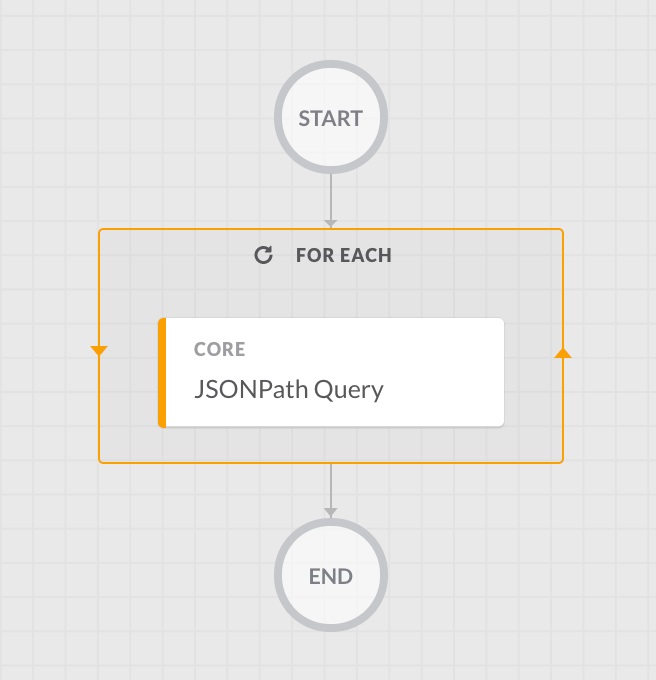
- Add a For Each block and add the “JSONPathQuery” action to it.
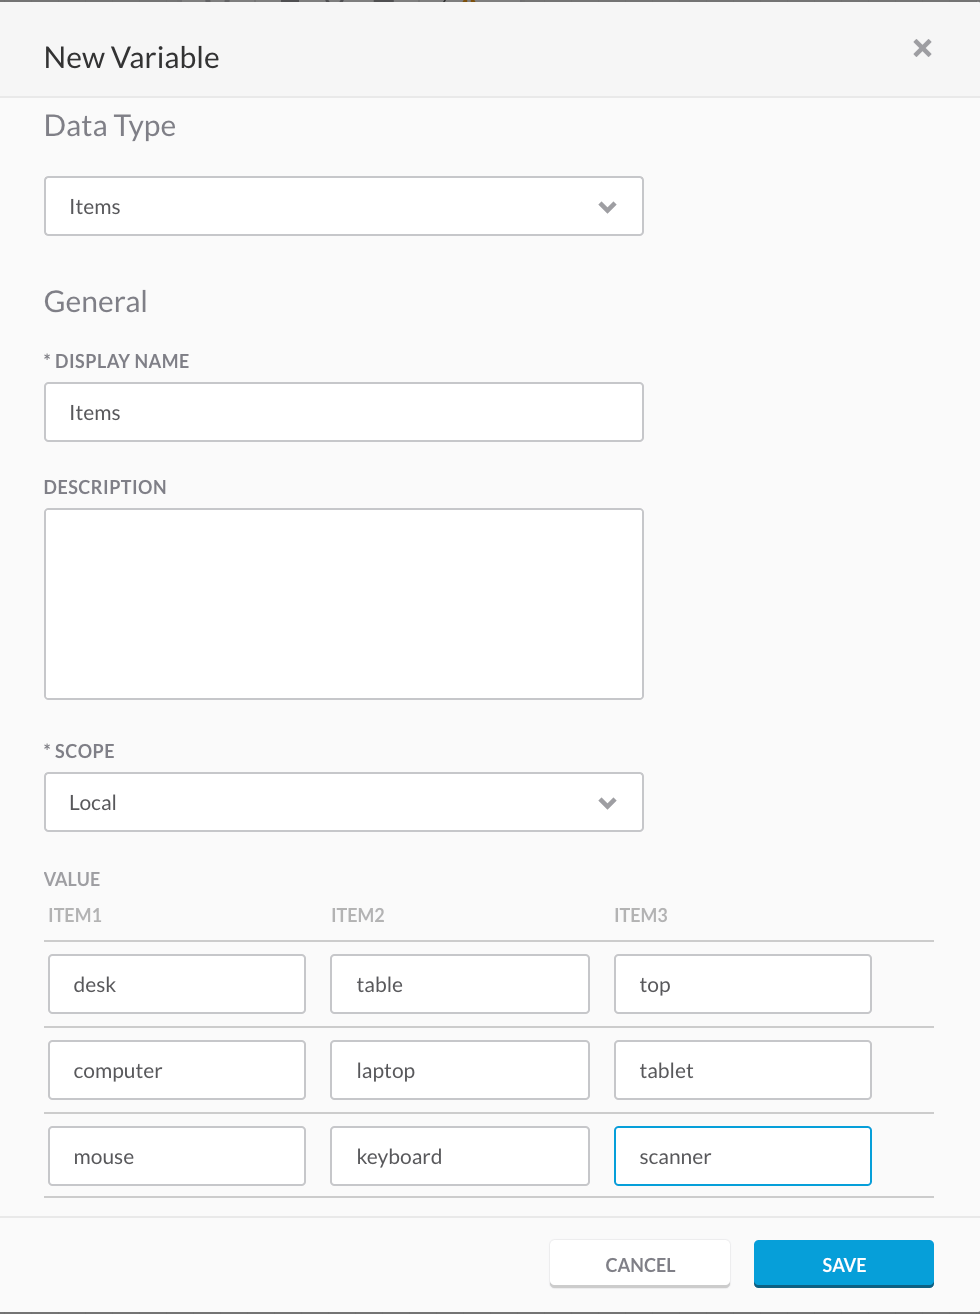
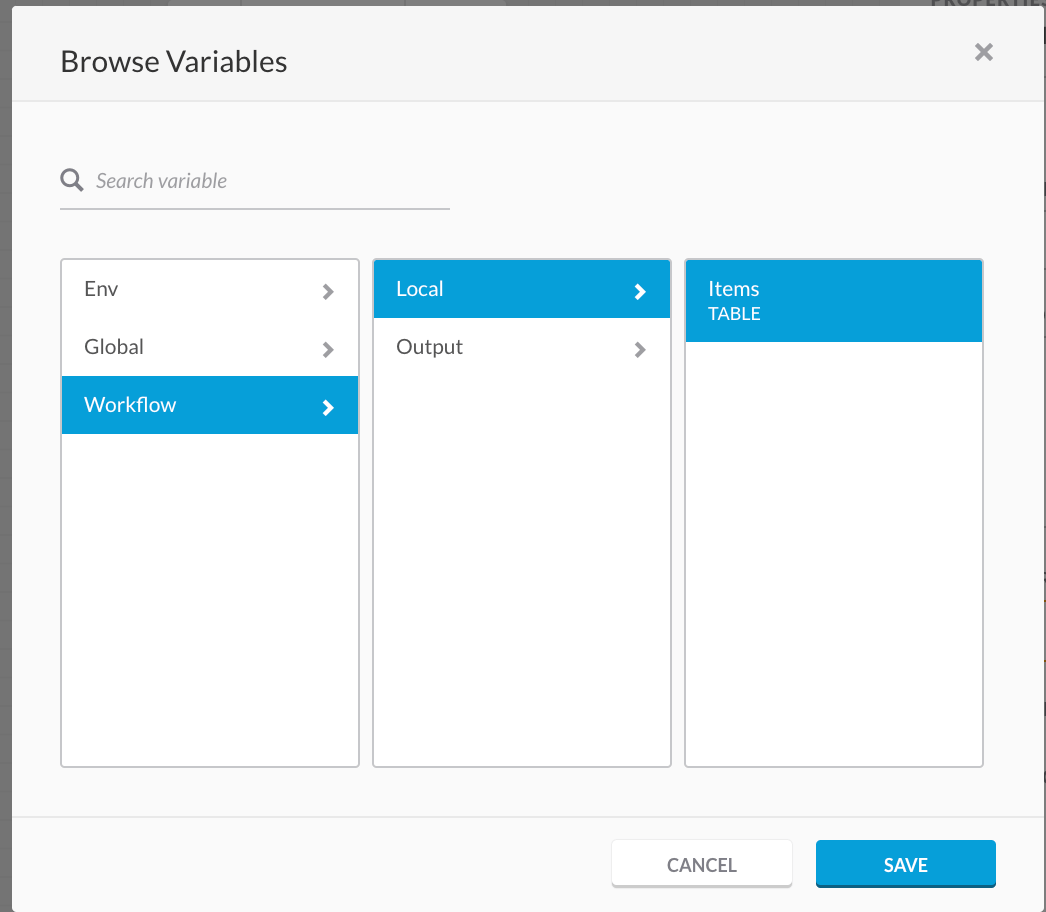
- Create a new variable type called Items and populate the table.
- Click on the For Each block and select the source array to be the items variable by clicking the puzzle piece.
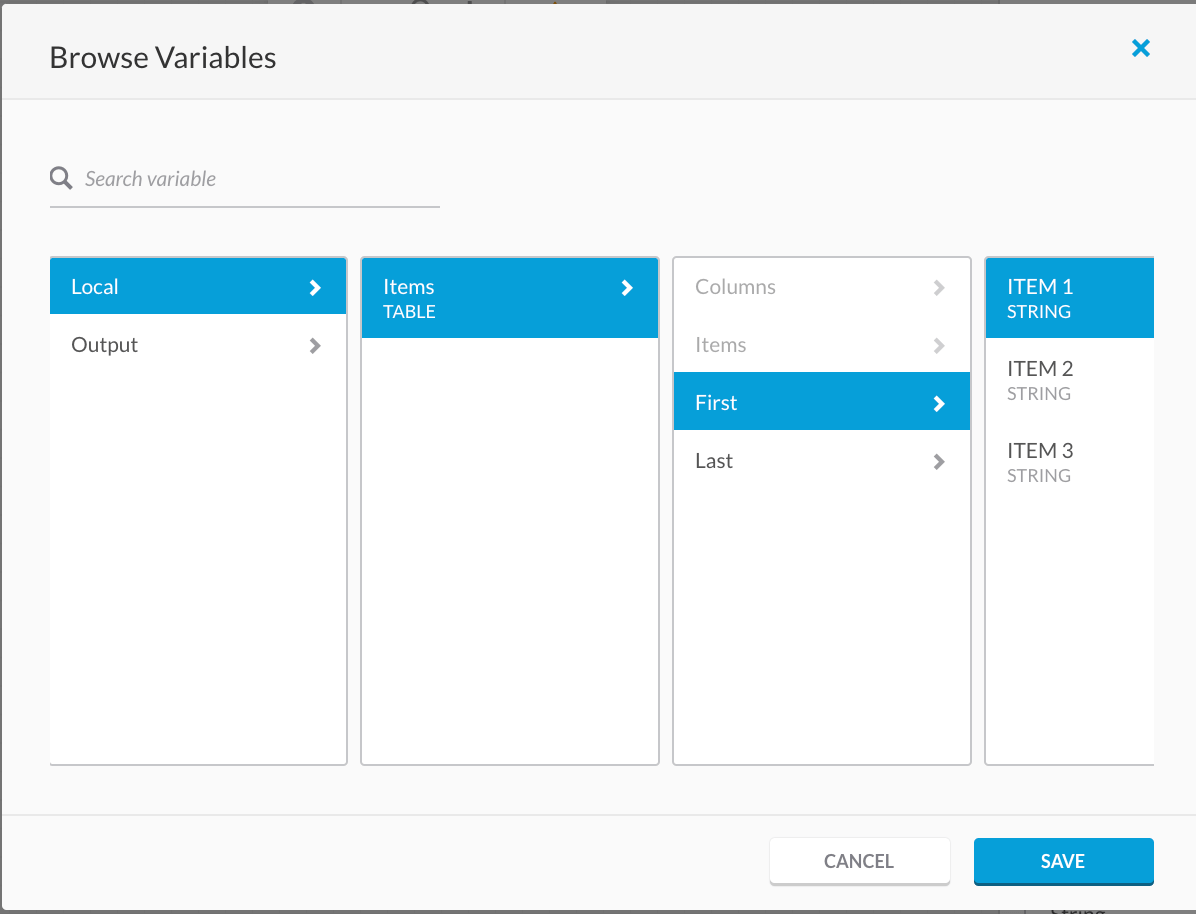
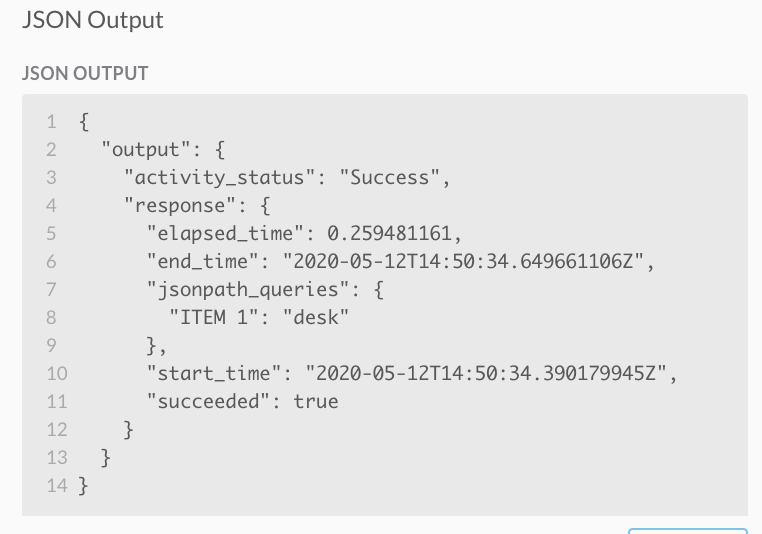
- Click on the “JSONPathQuery” action and select the source JSON to query to be the first item in the table.
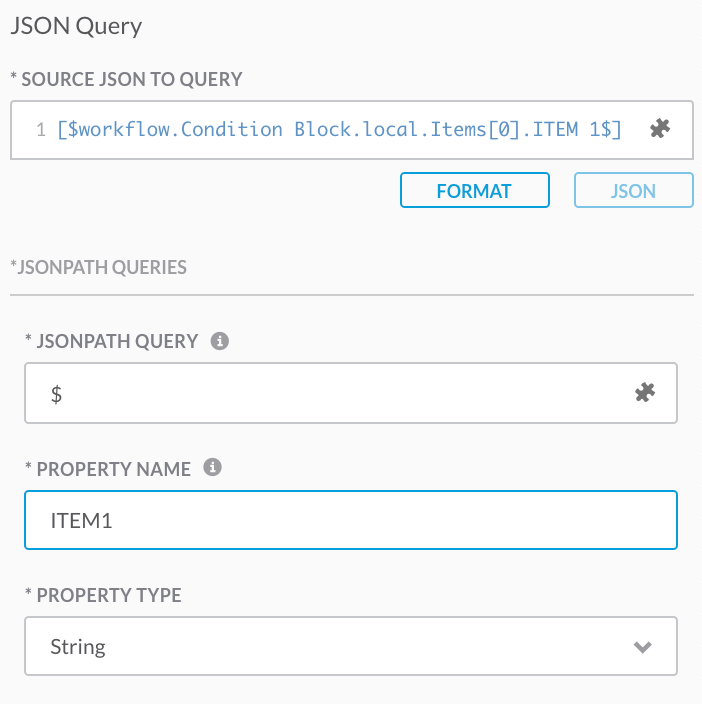
- Set the Query to “$”, the property name to “ITEM 1”, and the property type to “String”.
- Validate the workflow and run it.
- After running, you can see that the For Each loop ran 3 times. You can drop down the iterations to see the result of each one.
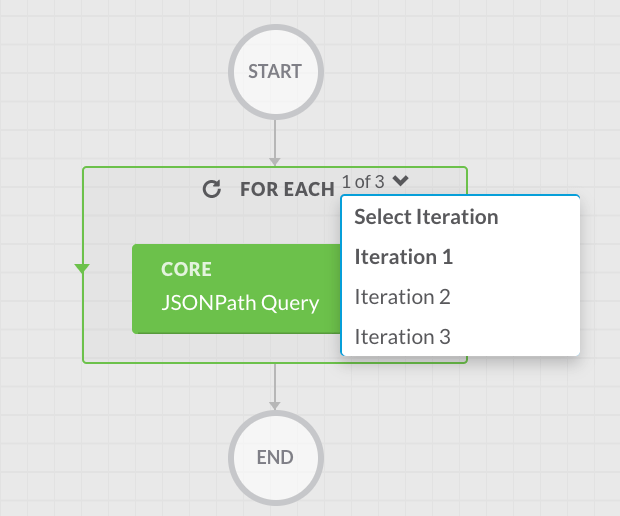
- For the first iteration you can see the item it returned was “desk”.
3.4. While Loop Blocks
A While block will loop until a certain condition is met.
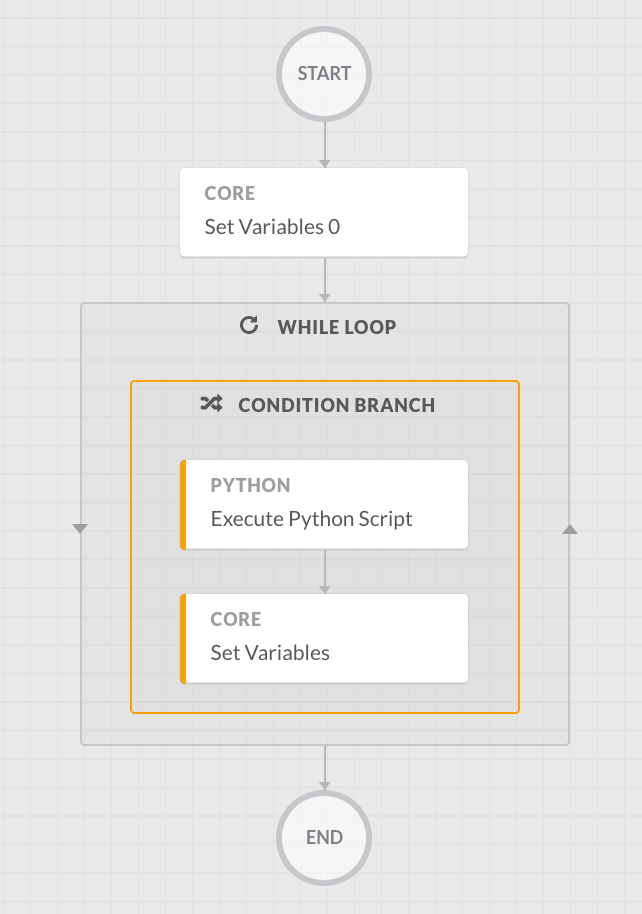
3.4.1. Example While Loop Block
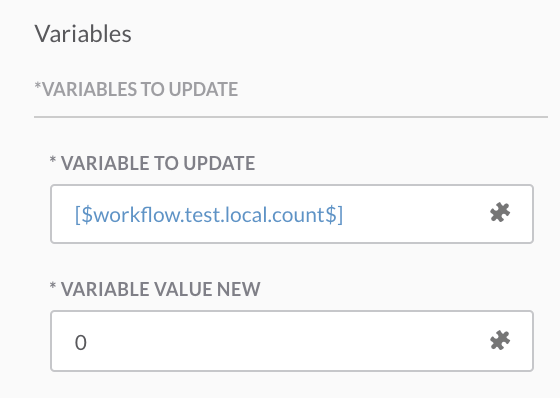
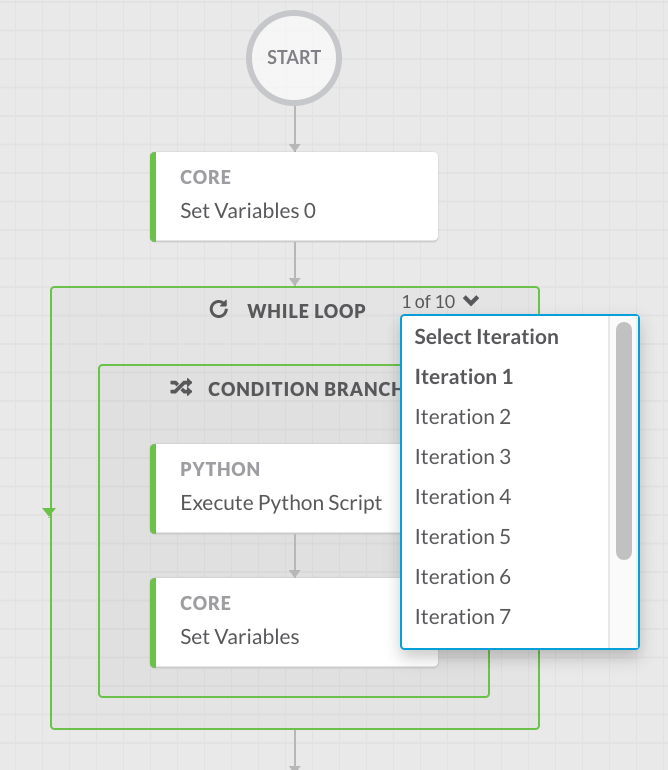
- Start by adding the “Set Variable” action and pass it a local variable called count that is set to zero.
- Add a While loop block and add the actions “Execute Python Script” and “Set Variable” to the condition branch.
- Add a script to the “Execute Python Script” action to add one to count.
- Set the script output to be called out.
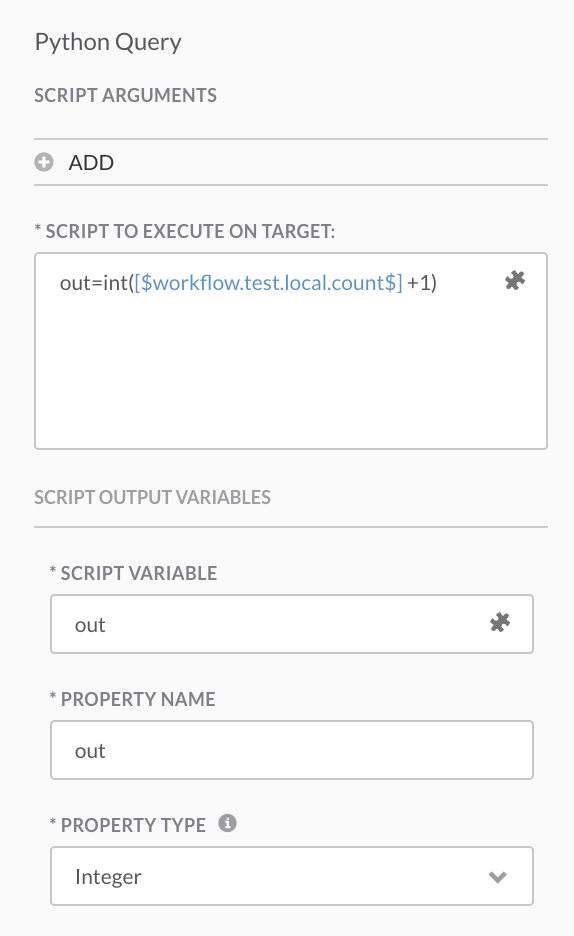
- Set the “Set Variable” action to replace count with the result of the python script.
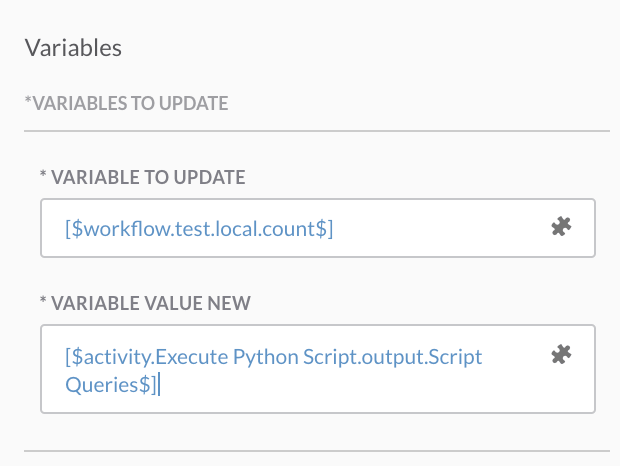
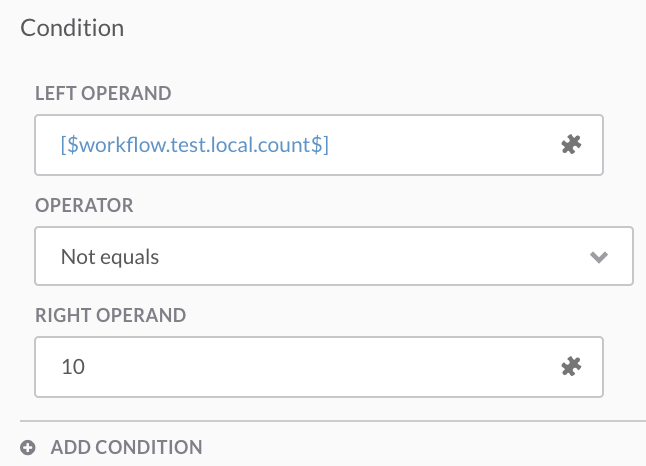
- Set the conditions in the condition branch to use the count variable, not equals, and ten.
- Run the workflow to see that it runs 10 times.
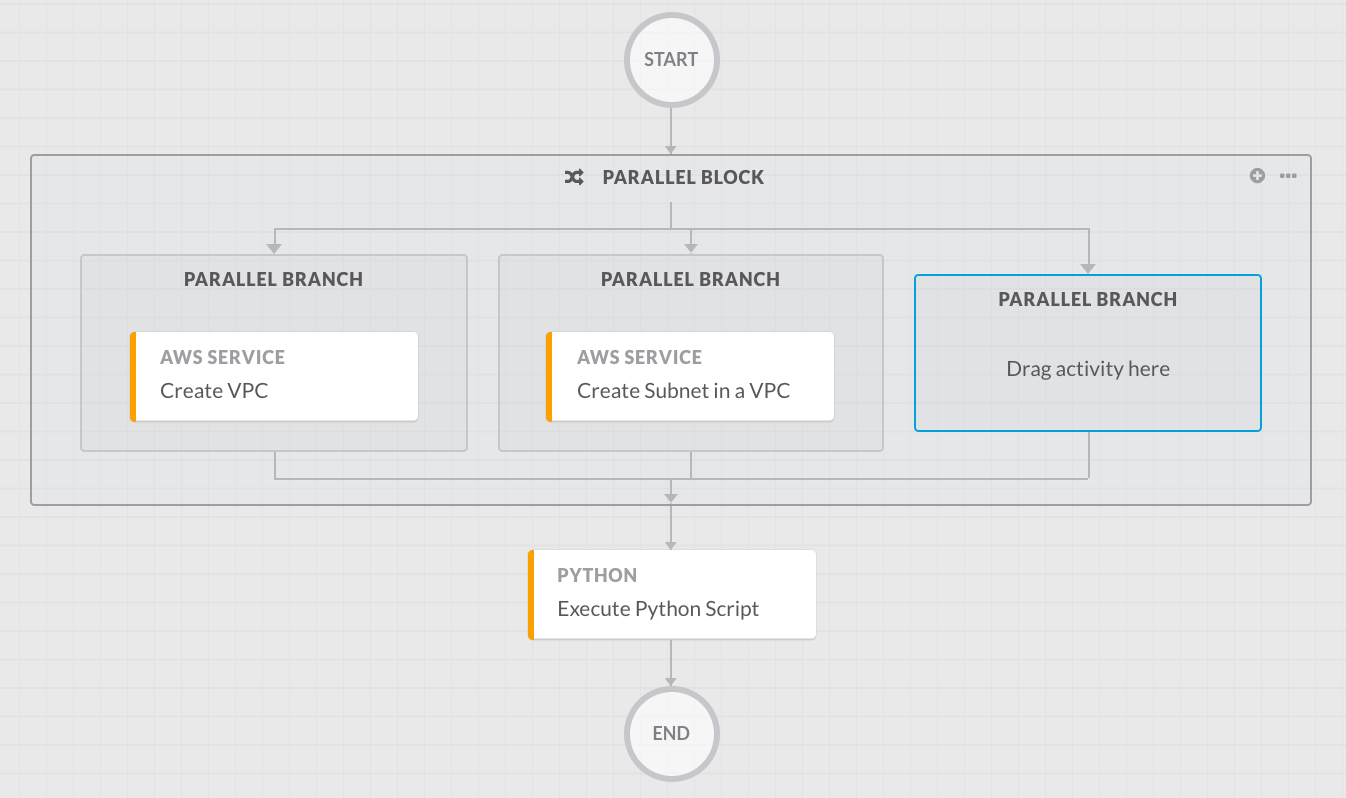
3.5. Parallel Blocks
Parallel blocks allow you to run two actions concurrently and wait until they both complete before doing the next action.
3.5.1. Example Parallel Block
- Start by adding “Create VPC” and “Create Subnet in VPC”.
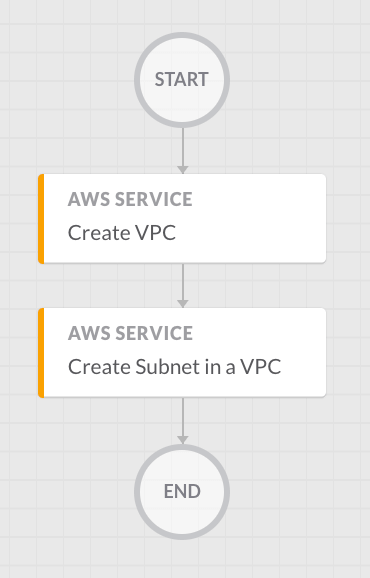
- Add a parallel block and put both actions in it.
- Add the “Execute Python Script” after the parallel block.
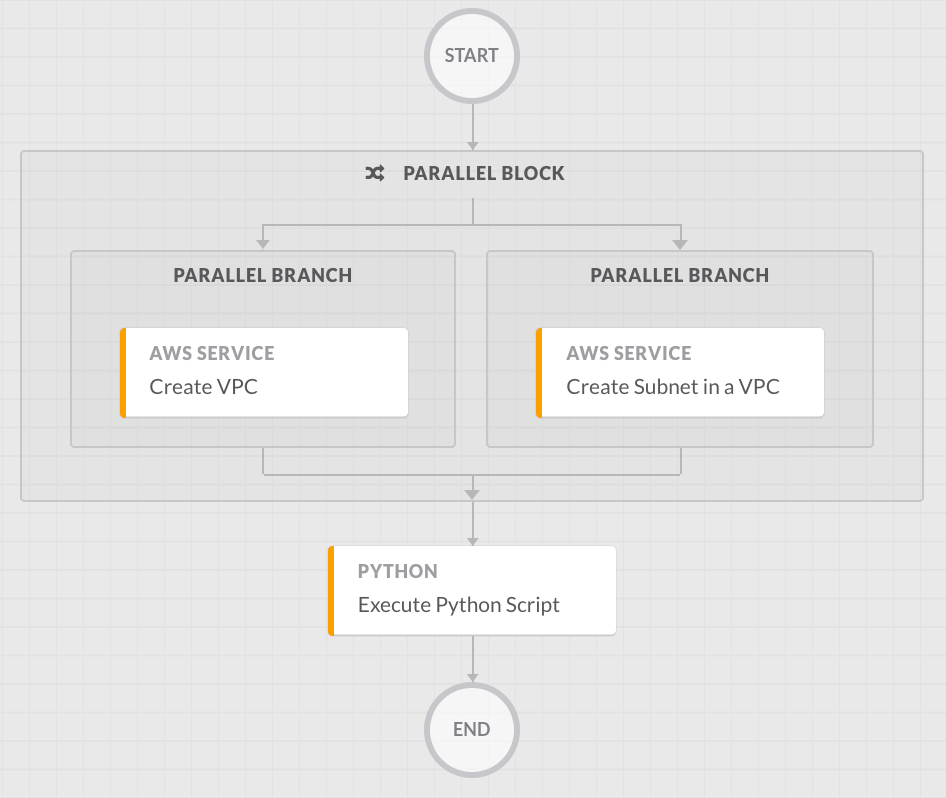
- When the workflow is run it will run both “Create VPC” and “Create Subnet in VPC” and wait till they are both done before running “Execute Python Script”.
- To add more actions to a parallel block click the plus sign in the top right corner of the block.